Introduction
JMeter is a tool that is mainly used to work with API resources. JMeter can be used for functional test as well as Non-Functional Test/Performance Test. Let use discuss about Functions and Non-Functional test.
- Functional Test – A kind of test that is used to validate the functional aspect of a product. Example : – A Product has a module that is Adding a product to Checkbox for an online e-commerce platform. Therefore the functional test has to check that product has been added successfully in the checkbox.
- Non-Functional Test – A kind of test that is not functional but it is important because it is making sure that the product is Reliable, Scalable under different circumstance of events.
- Reliable : – The product still be able to respond/maintain its functionality and service under a lot of request or faults/failures/ disruptions.
- Scalable: – The product adjust itself allocating the necessary resource as per the need of request coming without comprising quality or efficiency.
- Availability: – The product is available more often or not although it is nor working correctly.
Note : –
- Non-Functional Test usually consider number of users, for a period of time, to measure the Response time and throughput/transaction per second(TPI).
- Throughput refers the number of request a product can receives or take in.
- Response Time refers the average time that a request gets response.
- Transaction is used to group multiple scenario into one. Example : – A single Transaction can be represented as LogIn, Add Product to cart, checkout, and do payment.
Installation Of JMeter
The installation of JMeter is super simple, just download the JMeter zip file from official apache page https://jmeter.apache.org/download_jmeter.cgi. Download the source or binary as per your preference.
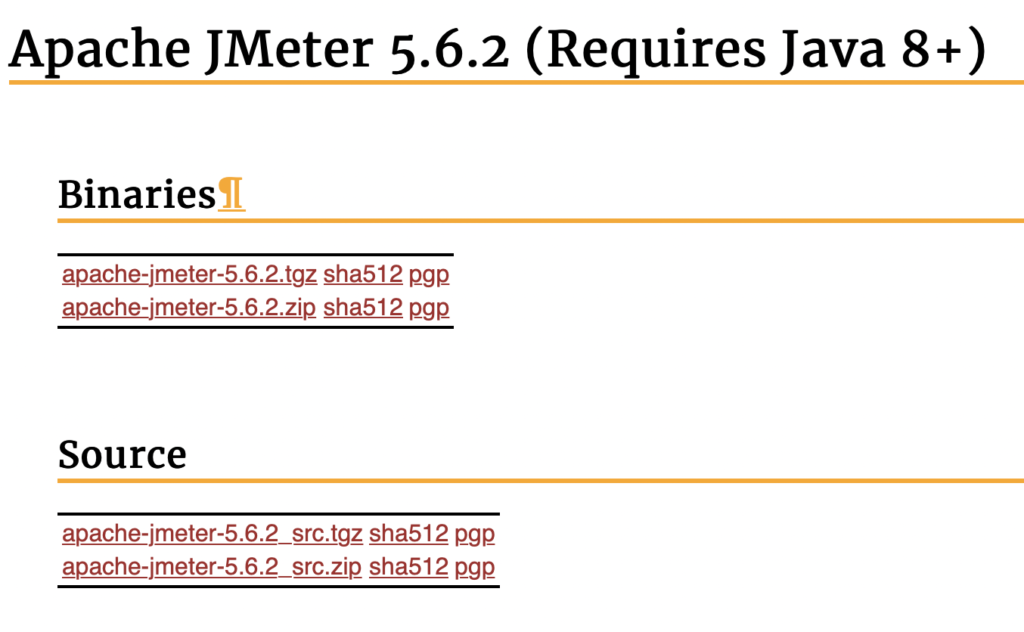
Figure 1.1 : – JMeter Download Options
Running JMeter
Once the download is done correctly, and put the downloaded folder in the place where you suppose to put. Then access the following path to lunch JMeter from UI or command line.
Steps UI To Run JMeter
- Open the folder ‘apache-jmeter-5.6.2’
- Open bin folder, search and double click for Jmeter file which is executable.
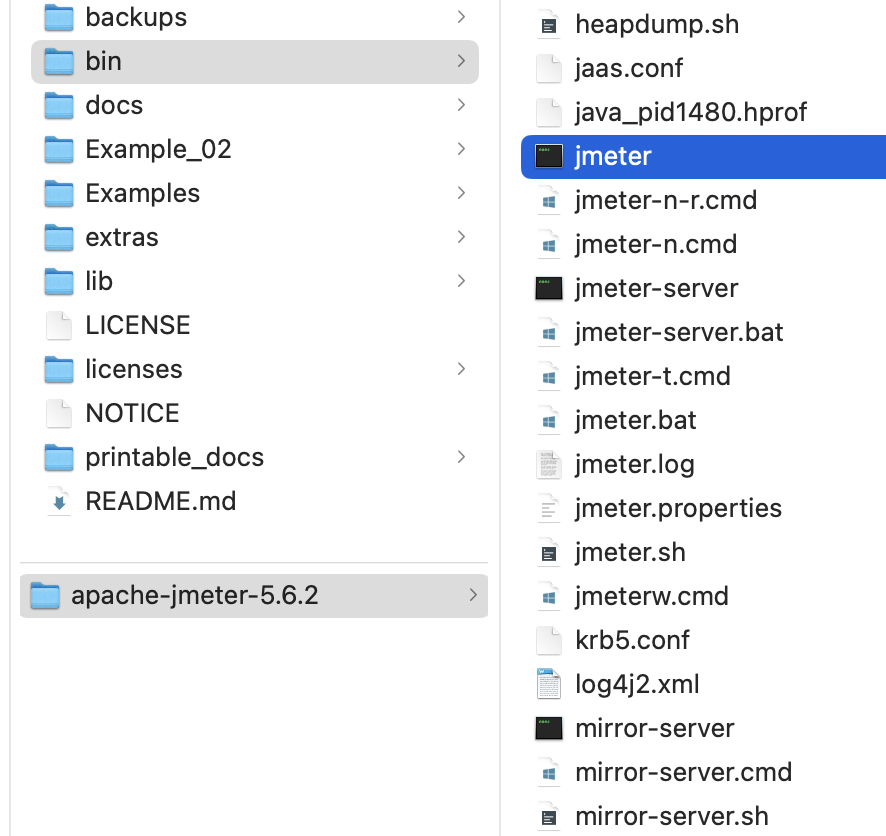
Figure 1.2 : – Running JMeter From UI
Steps Command Line To Run JMeter
- Open the folder ‘apache-jmeter-5.6.2’
- Open bin folder, and type Jmeter and press enter


Figure 1.3 : – Running JMeter From Command Line
Test Plan
It is the first element in JMeter where our test elements/controllers are defined and configured. By default there is a Test Plan already , therefore it is possible to use and add elements/controllers to create our tests.
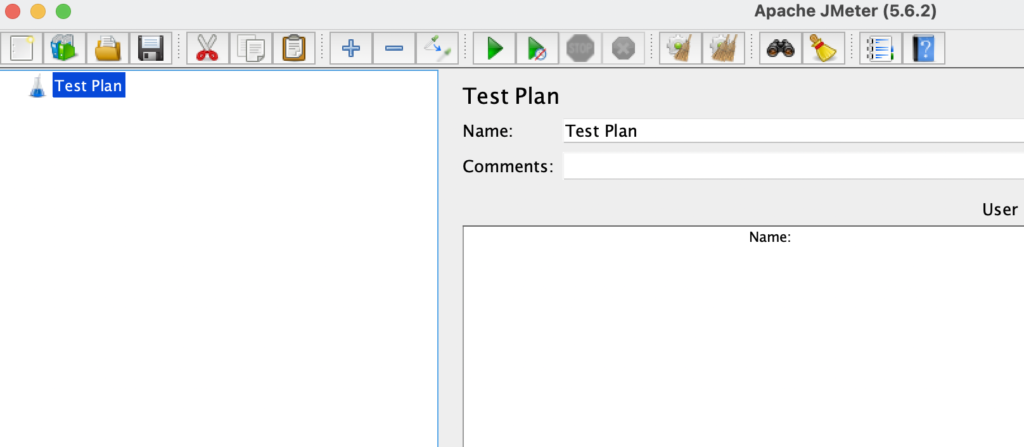
Figure 1.4 : – Test Plan
Elements/Controllers
Elements/Controllers are key component to set up our tests cases There are various types of elements/controllers referring to different types of actions to perform. some of the class of elements/controllers are
- Threads
- Config Elements
- Listeners
- Timers
- Assertions
- And Many More
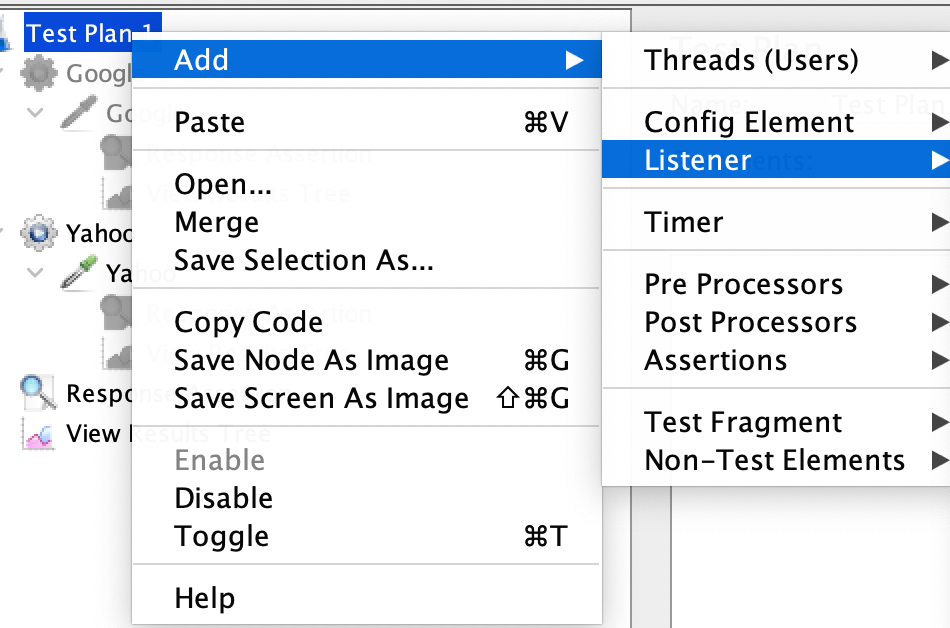
Figure 1.5 : – Elements/Controllers
Thread Group
This is a next important elements that is going to be added next to a Test Plan. The thread Group can let us to group related scenarios in one thread group. In a test plan it is possible to add more than one thread group. Thread Groups simulate a particular real-time application scenario. Example : – A thread group can be LogIn, Adding to Cart, Checkout, Payment , and many more other scenarios.
HTTP Request
This is the next important element which is used to perform an HTTP request. This means any service call for different types of method GET, POST, PUT, DELETE, and others will be performed. The Request can take a Protocol, Domain Name, Port, Methods, Path , Body and other informations.
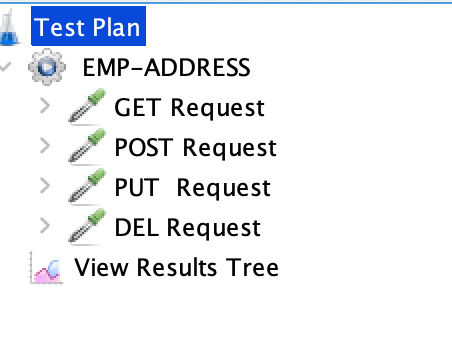

Figure 1.6 : – Request Type and Details